This is the "quick and easy" section of the how to`s, here you will find tips that are really easy to do, but yield great results! |
||
In this short tutorial, we will be opening up the grille for The AMT 57 Chevy Cameo Pickup. You will only need a few simple tools. You will need some files, and an exacto knife with a sharp #11 blade in it. If you have a moto-tool it will help reduce the working time, but if not, regular files will still work.. 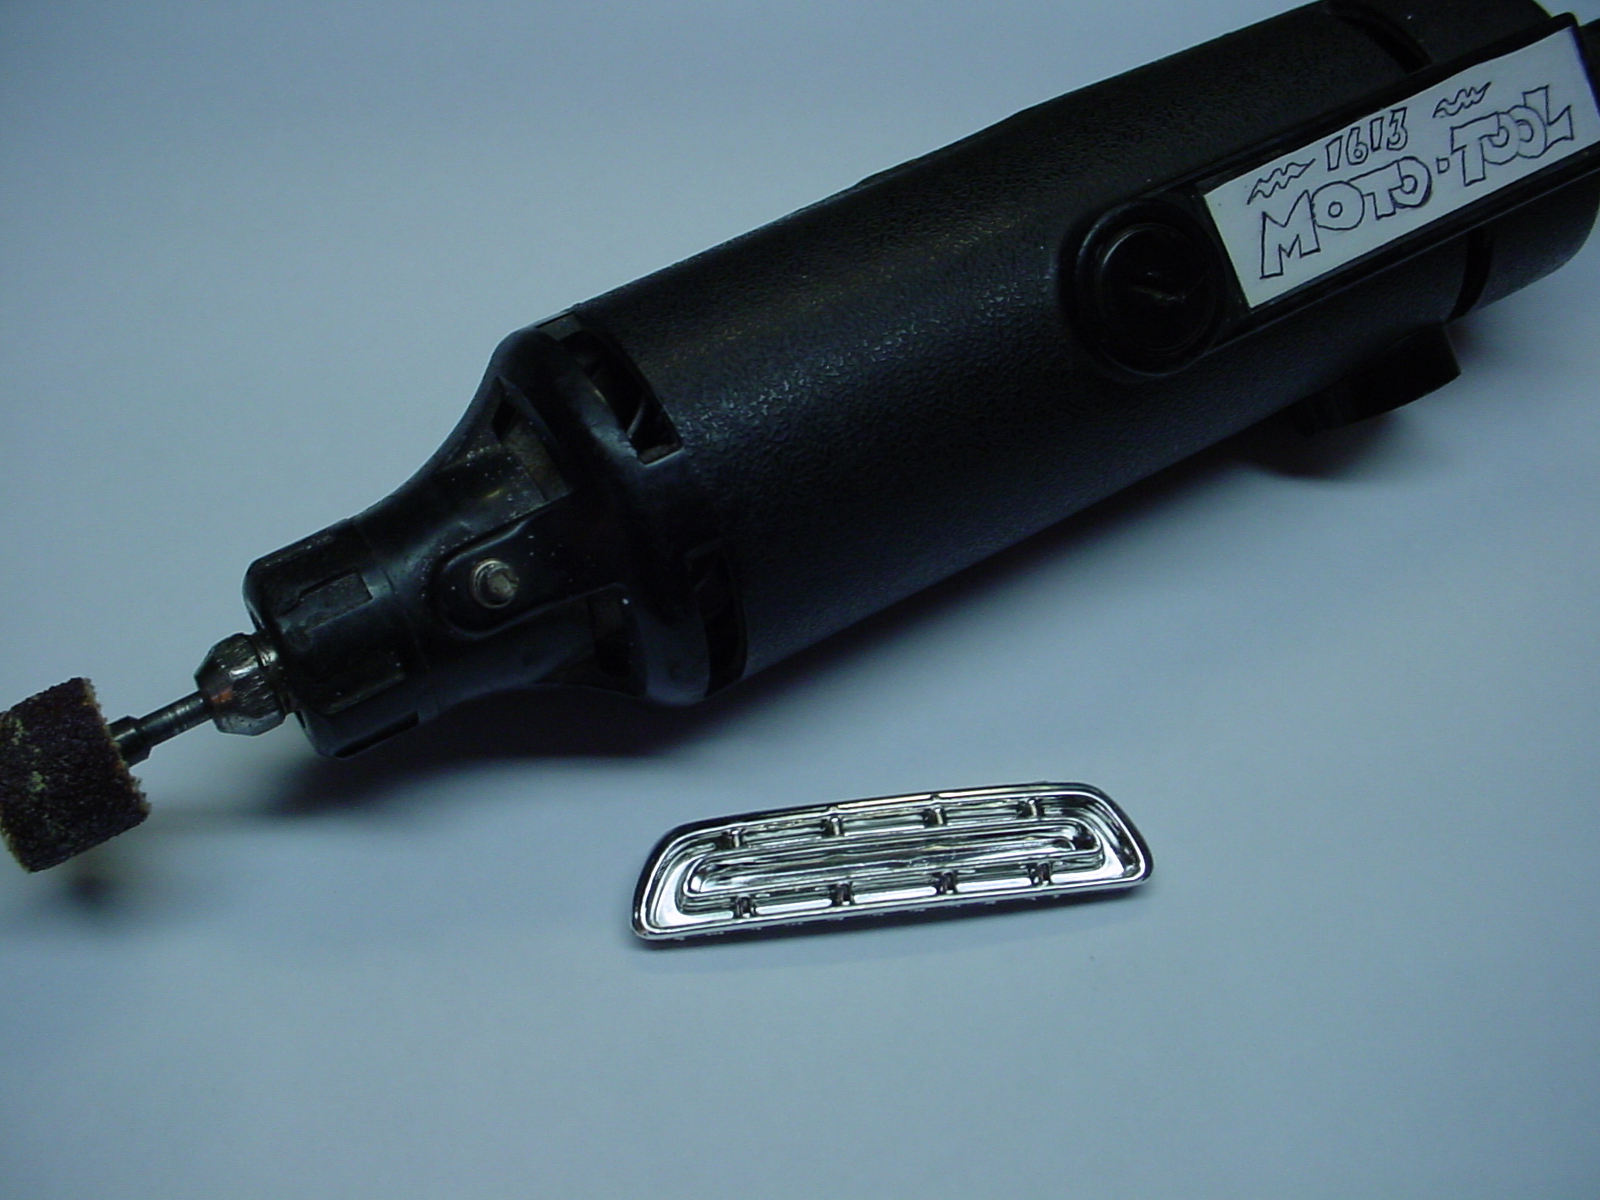 If you plan on keeping the chrome on the grille, its a good idea to cover it up. A couple strips of masking tape should do the job. too much handling and the chrome will rub off. 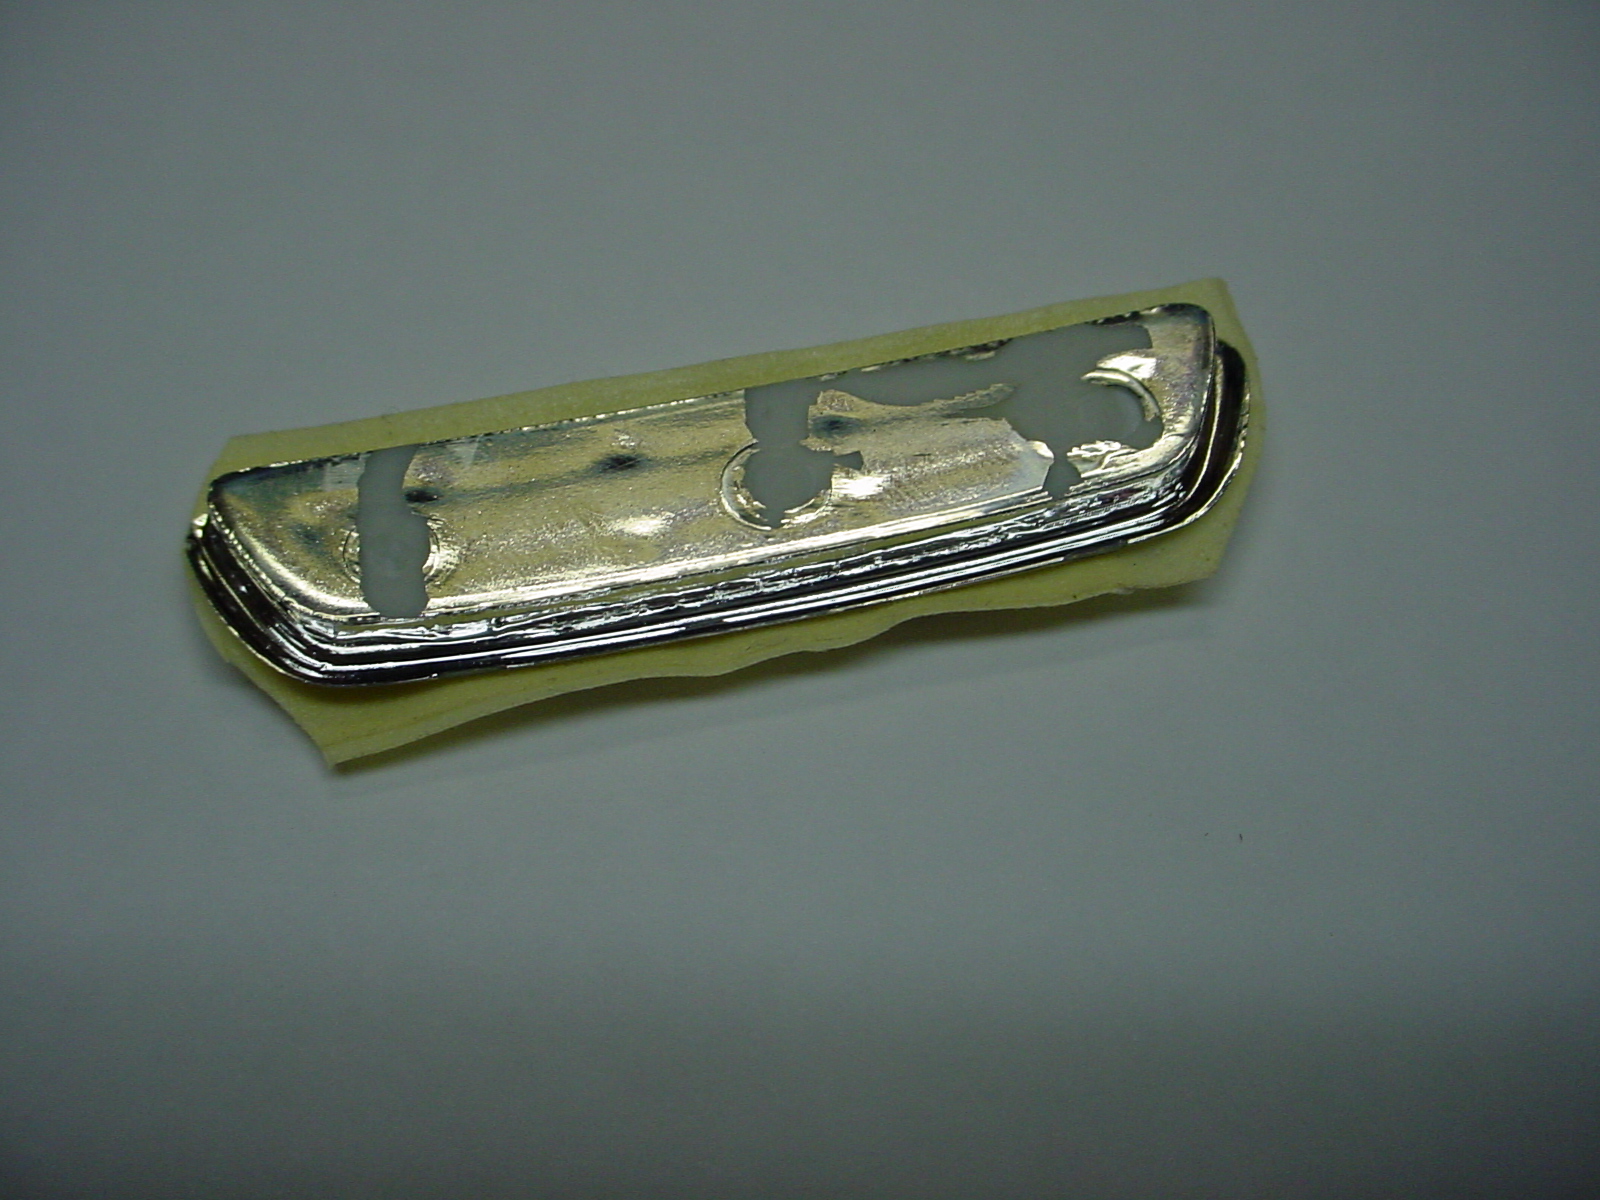 Take your moto-tool , and grind the back of the grille down, be careful not to go too far. this is what it should look like after grinding. 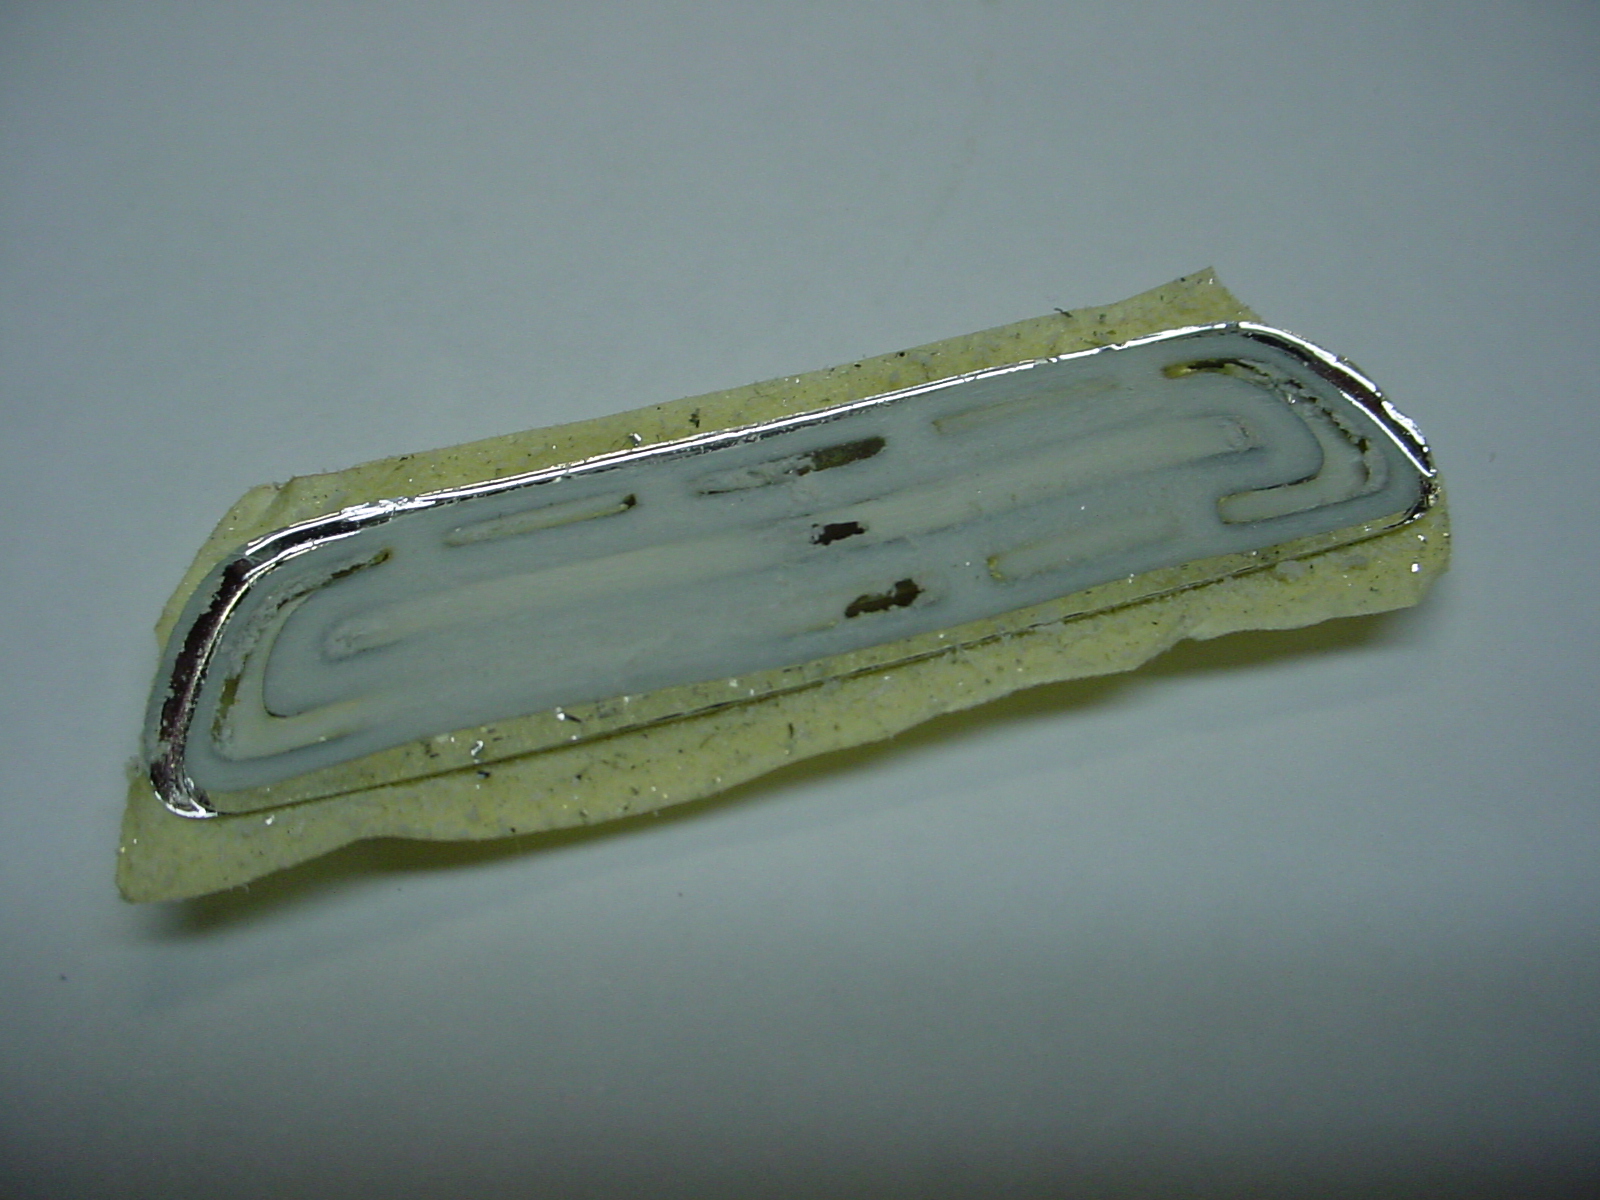 Take a fresh #11 blade and carefully remove the pieces of plastic that are blocking the grille openings, they will be thin and most of it will just flake away 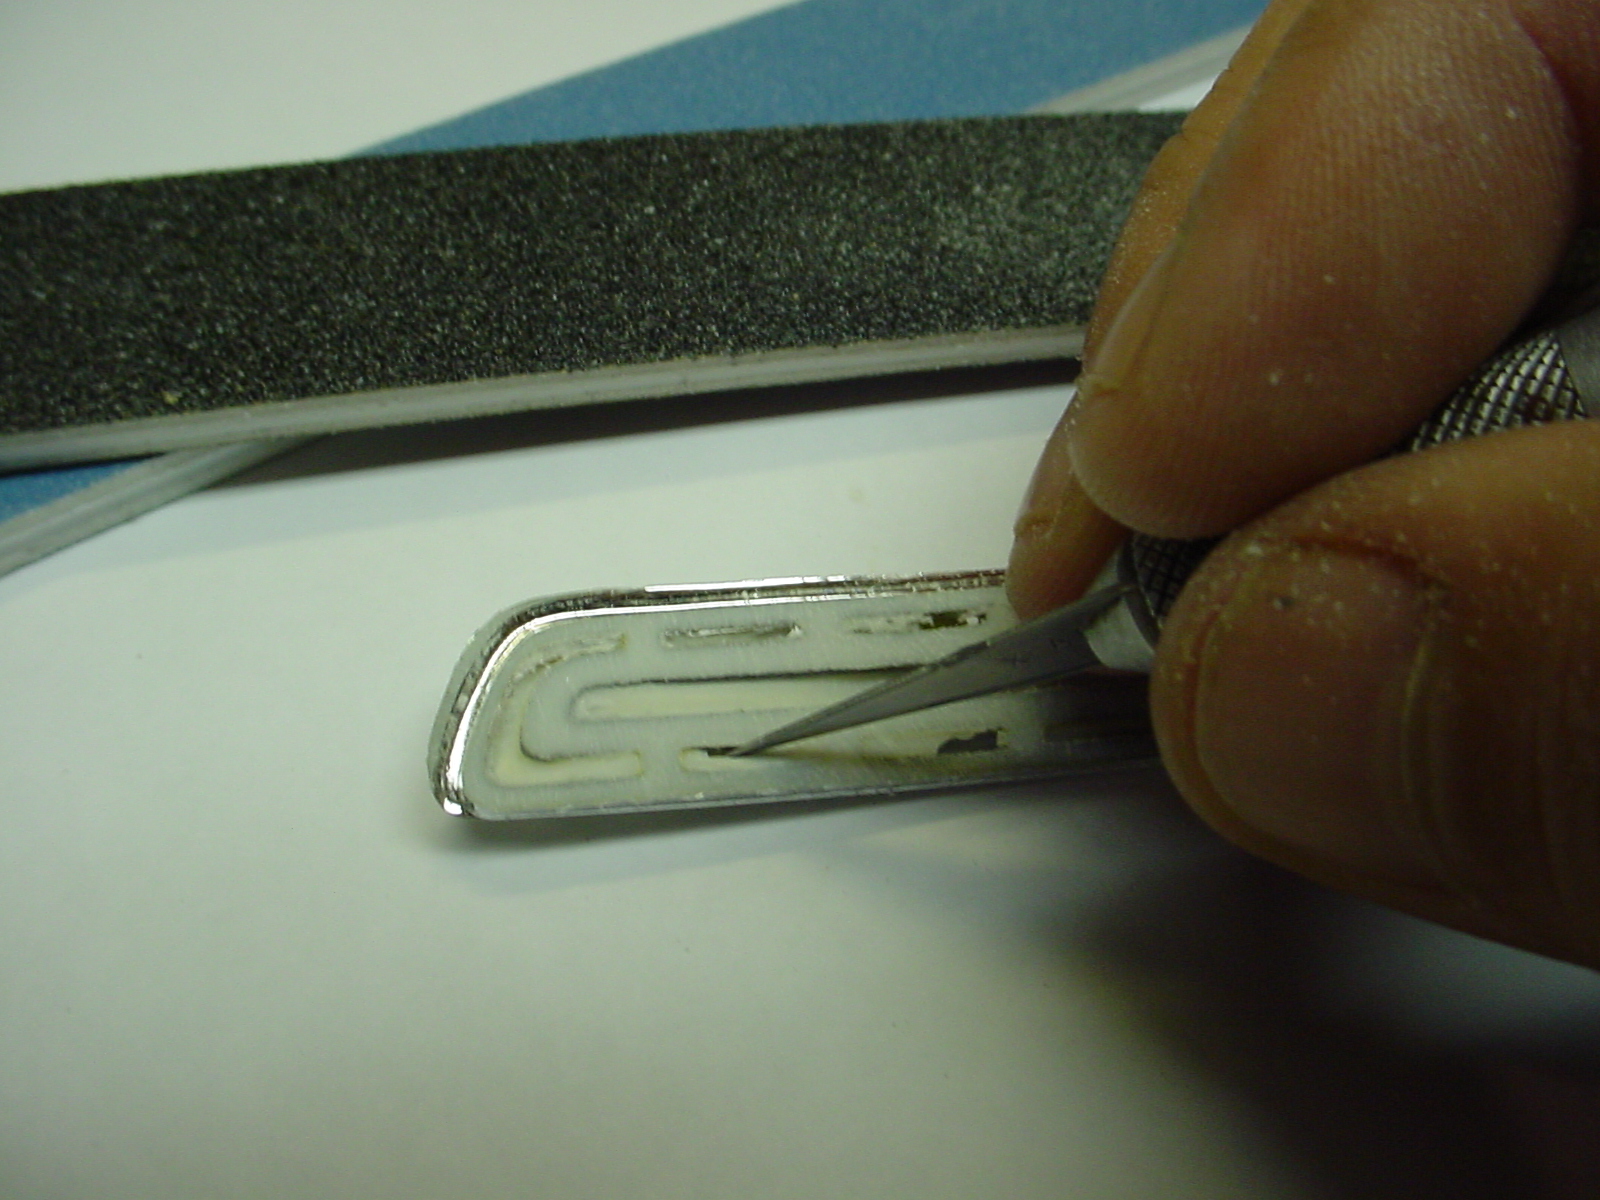 Now that you have removed all of the loose pieces, you can take a metal file and clean up the inner edges. Be careful not to remove too much chrome 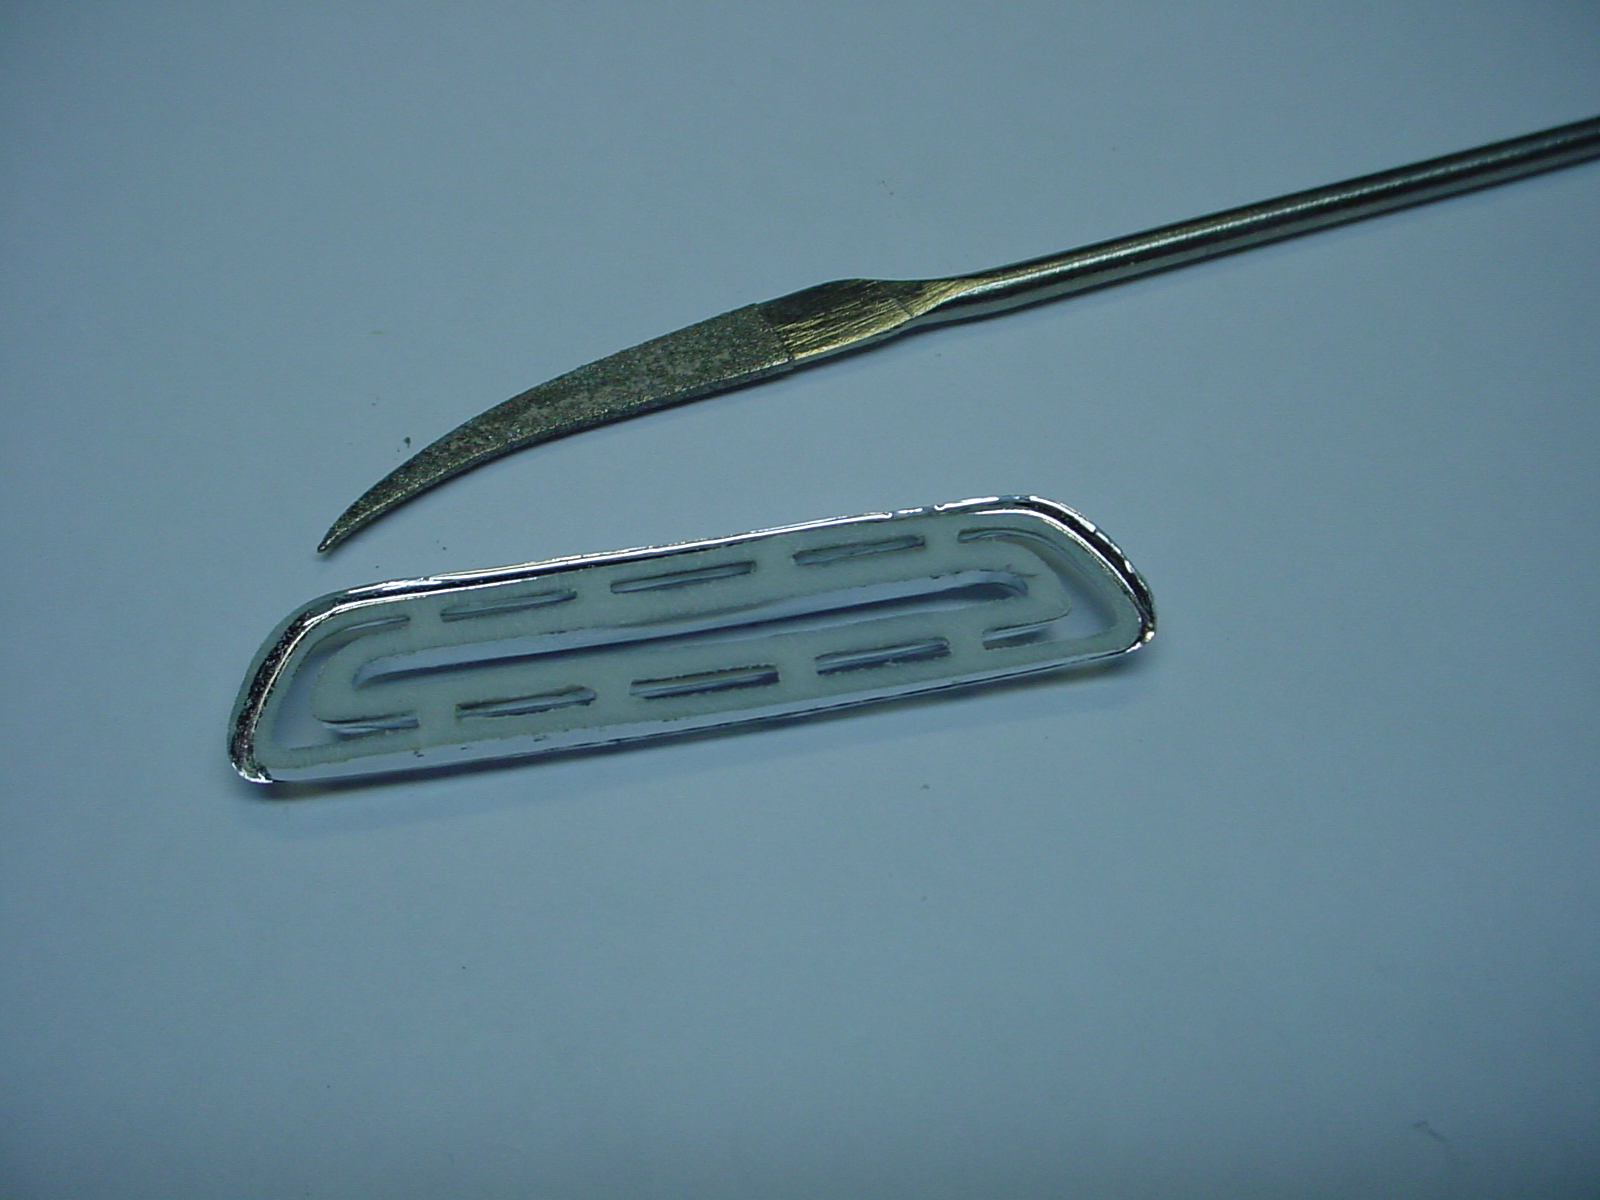 now you have a great looking grille! Much better than the original kit part. A little detail like this goes a long way. 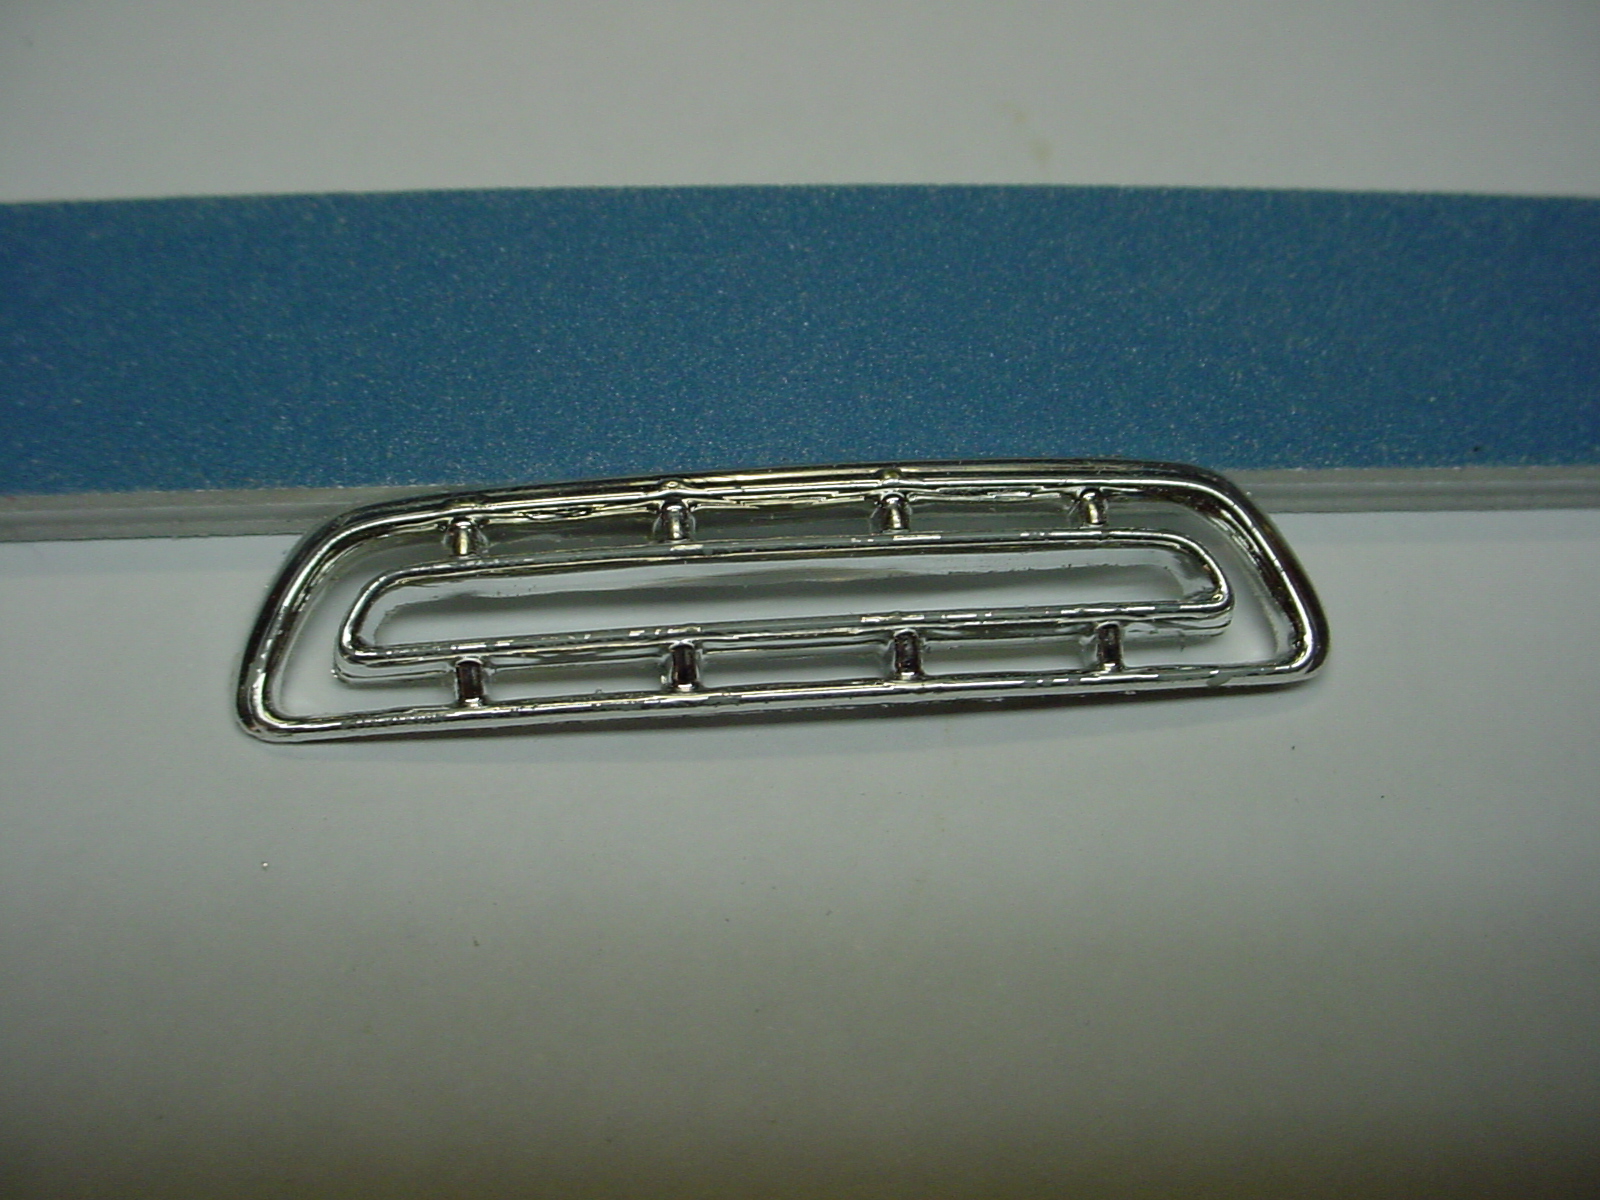 Heres a pic of the grille installed on the truck, now its much more prototypical, and was well worth the effort 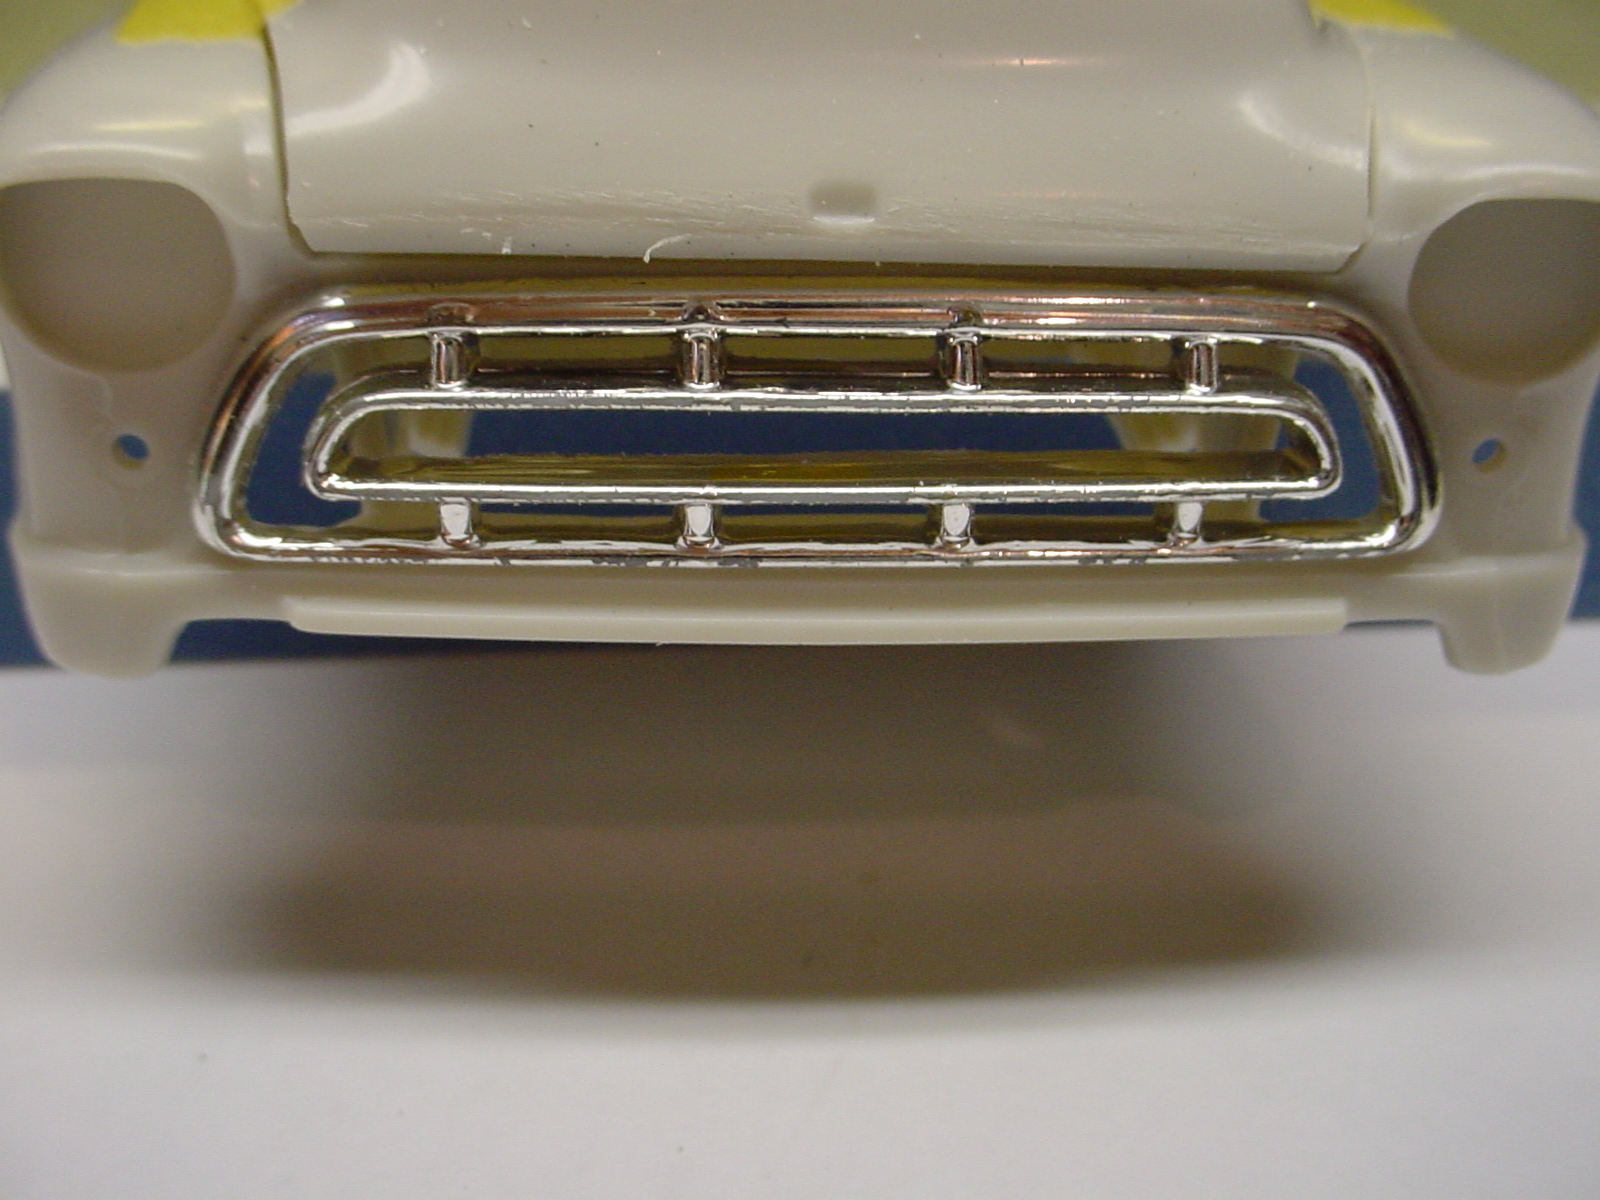 |
Heres a quick and easy tip, that will nearly eliminate the need to use "putty" or "bondo" when filling in minor imperfections, and making custom changes to your builds. Step One: get a bottle of your favorite liquid glue. I use tenax 7R, but you can use any liquid glue, such as Plastruc Bondene, or even Testors liquid cement. 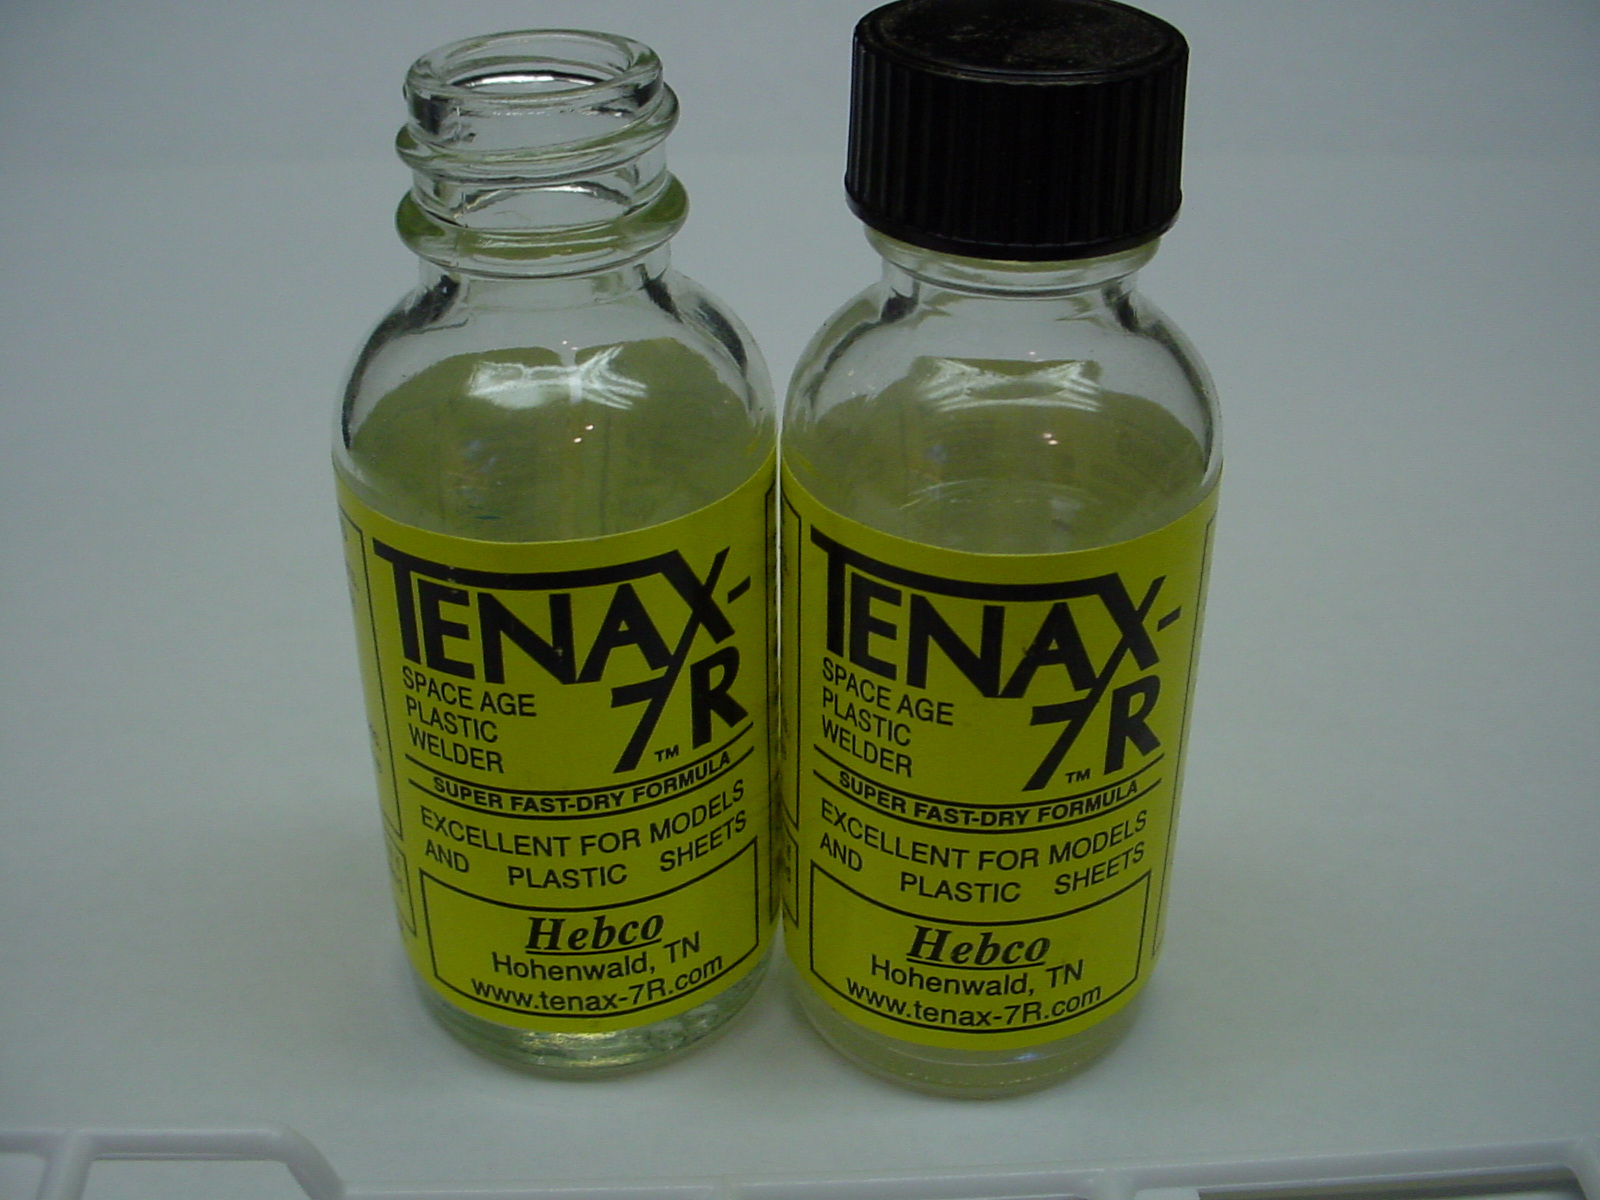 Step Two: Cut up a bunch of old sprue (parts trees) into small pieces. 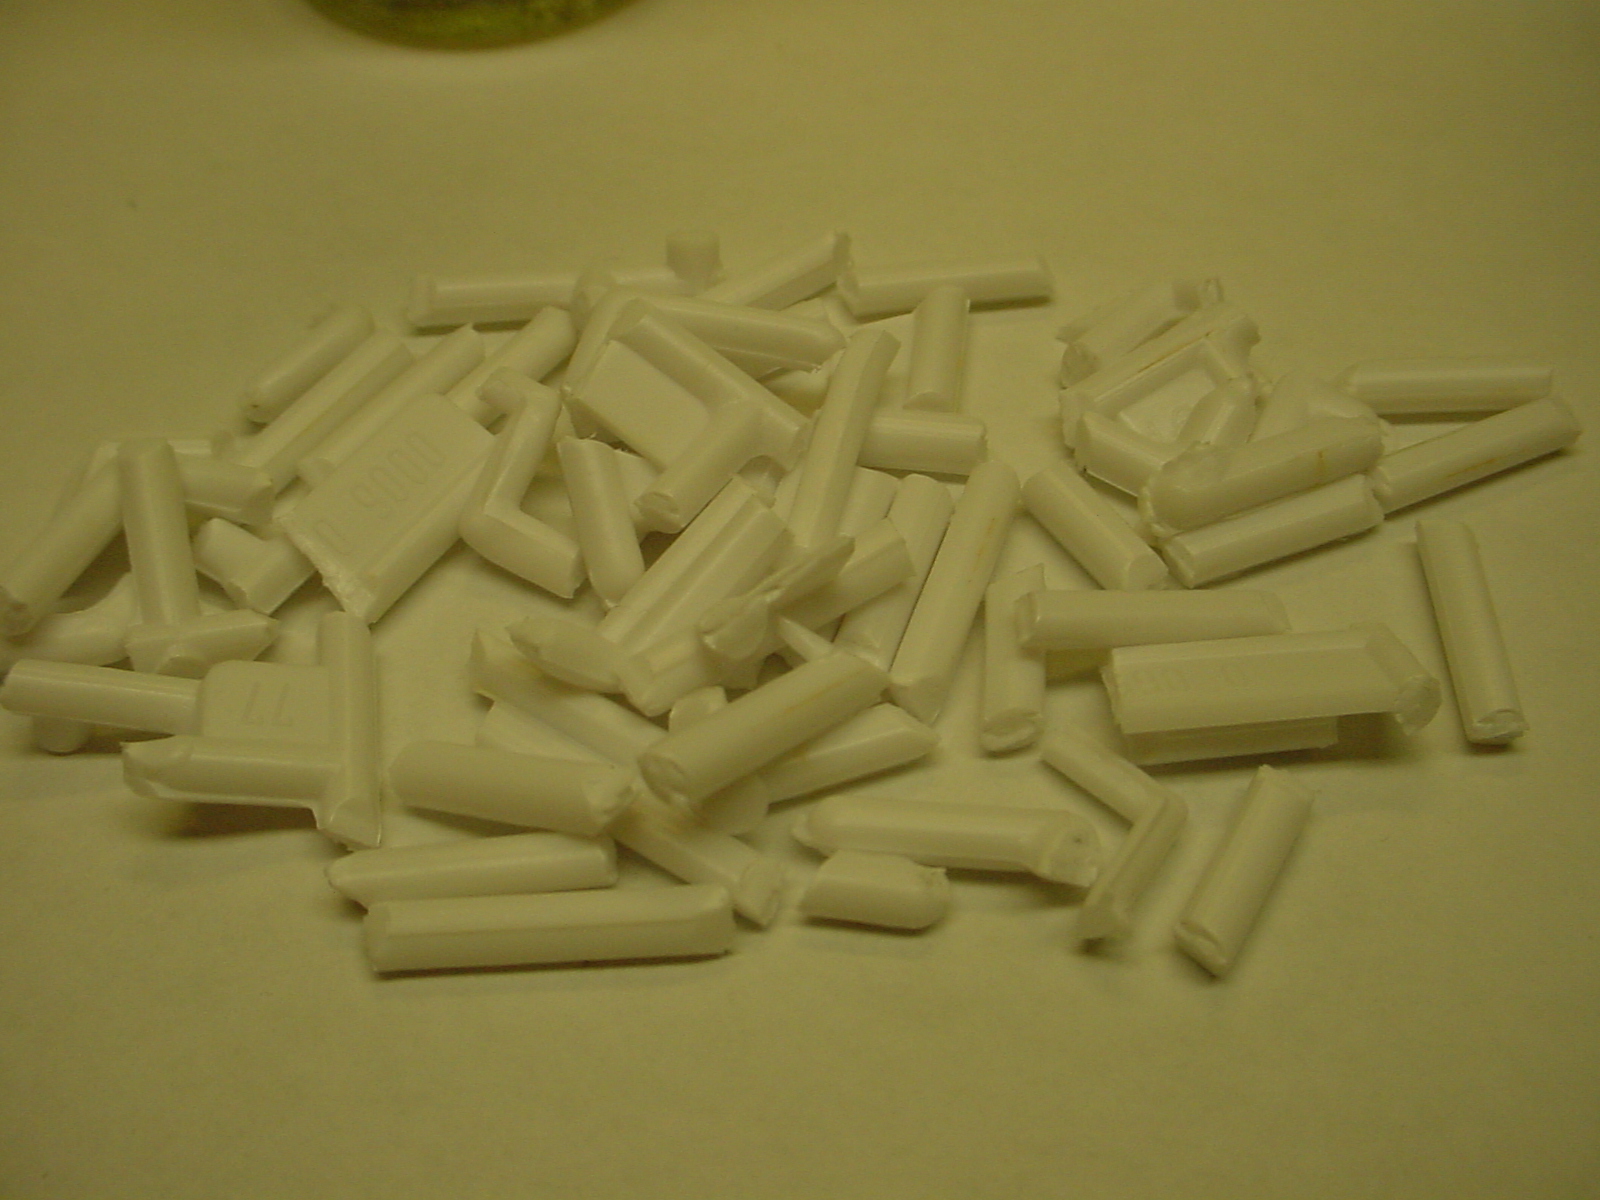 Step Three: add the small pieces of sprue to an empty glue bottle. Always save empties, they really come in handy for stuff like this! fill the bottle about 1/3rd of the way full with the pieces. 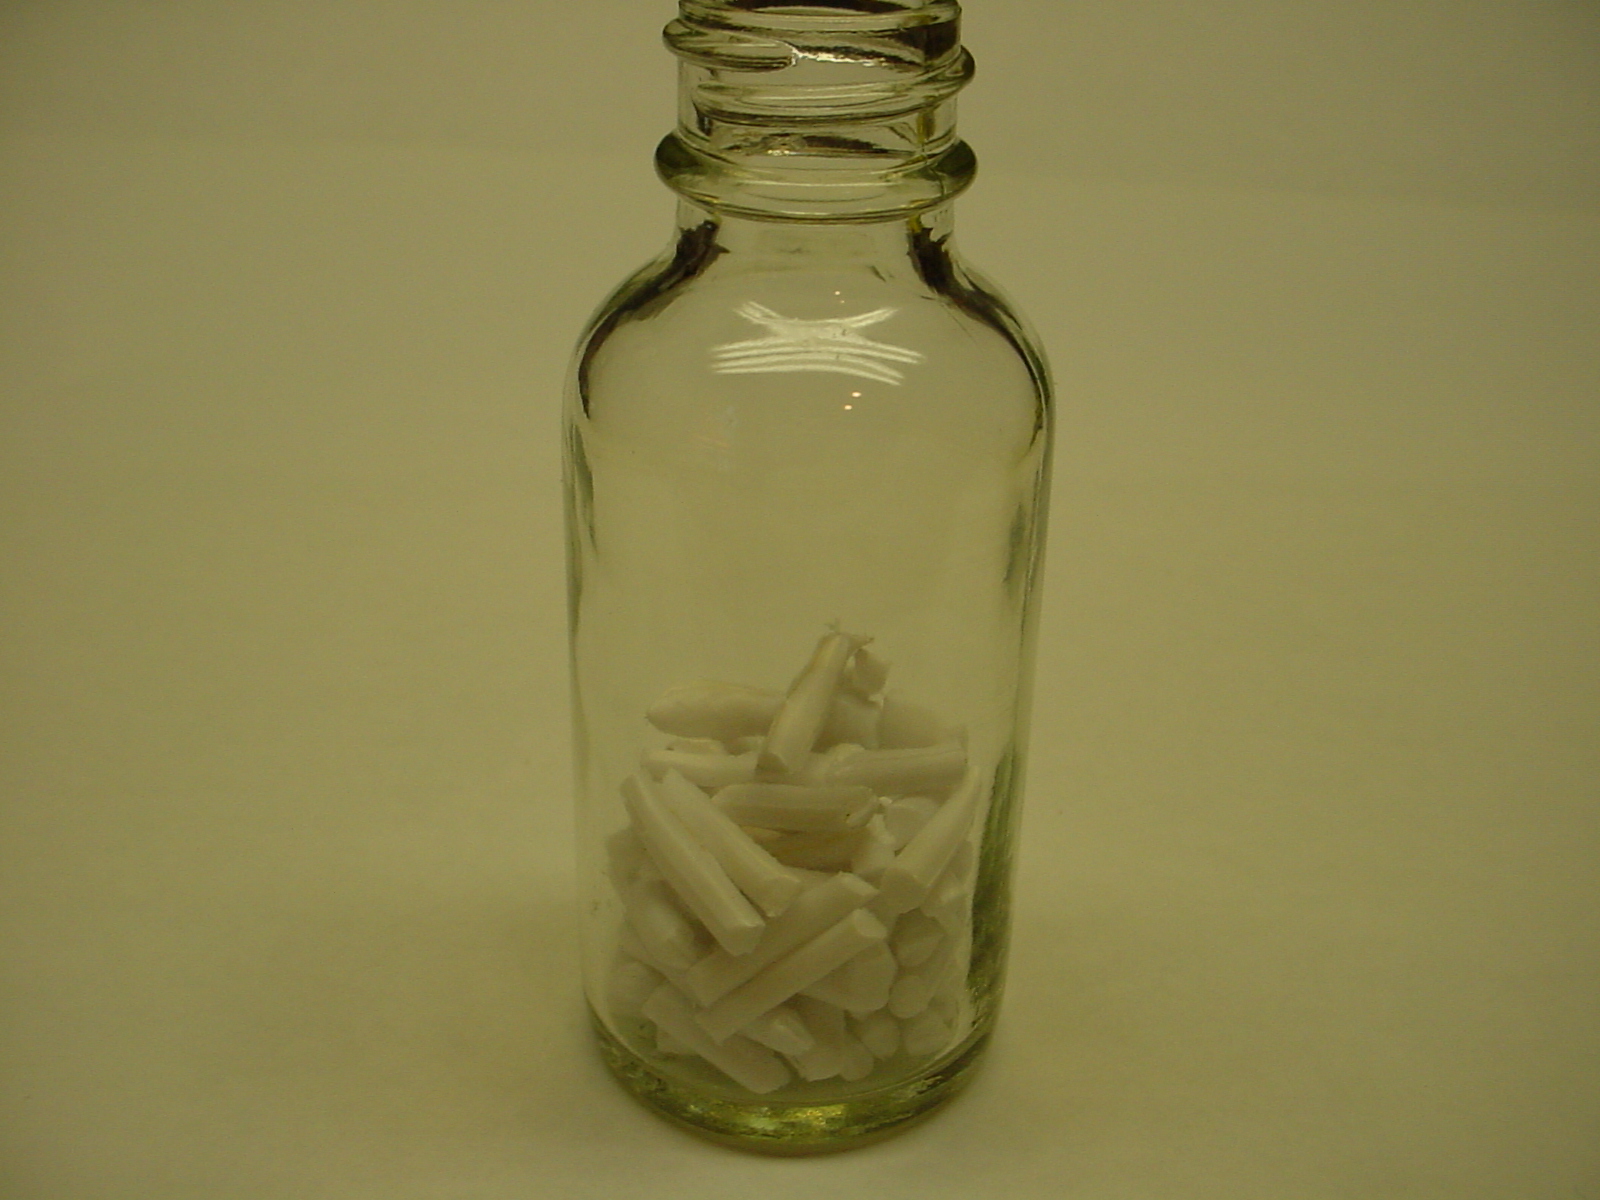 Step Four: fill the bottle with enough tenax to cover the plastic pieces. allow the plastic to melt completely in the glue before you use it. give it a shake every once in a while, it will speed up the melting process. if the filler is too thin, add more sprue, if its too thick you can add more glue to it. it should be a little thicker than pancake syrup. 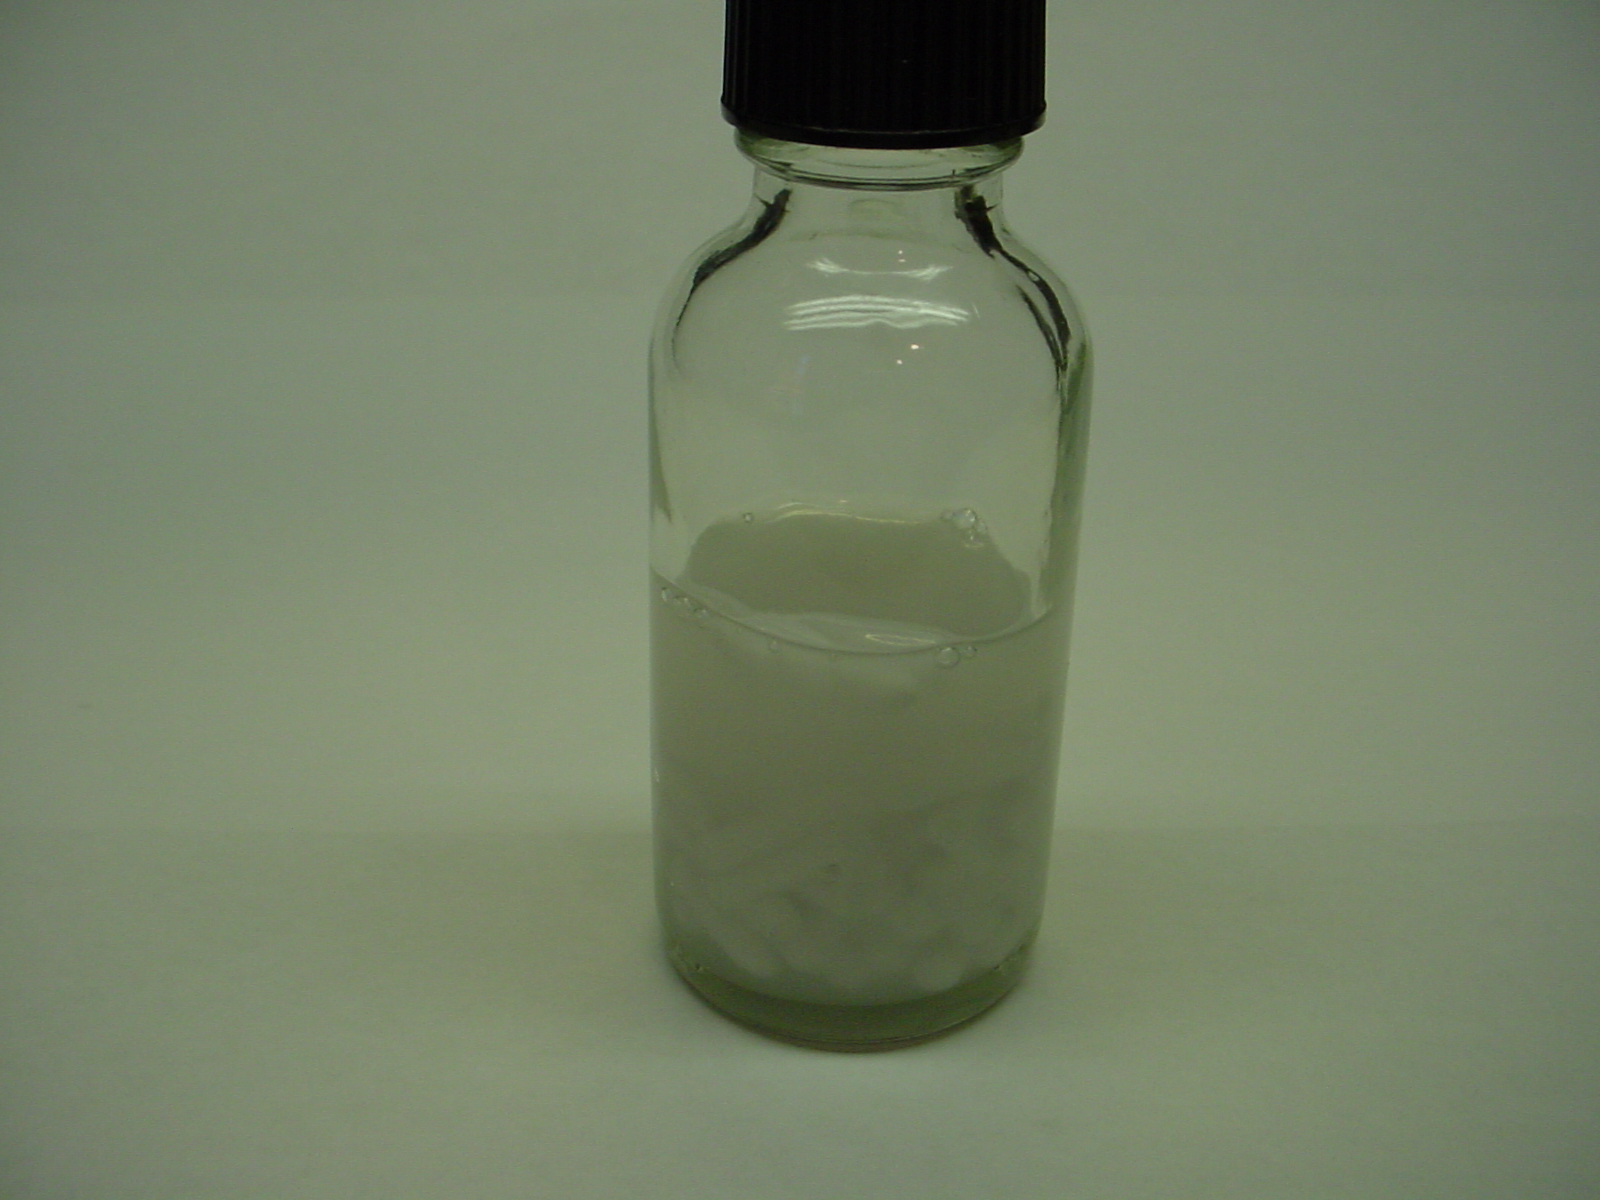 Step Five: Heres how to apply the filler. For this how to i am using the hood from a 53 chevy kit, and we`re going to fill the slot in the hood where the ornament goes. I used a thin piece of tape as a backer so the filler wouldn`t run out. Grab some toothpicks, and a lid or something to hold the filler in, only pour a small amount, it dries really quickly. 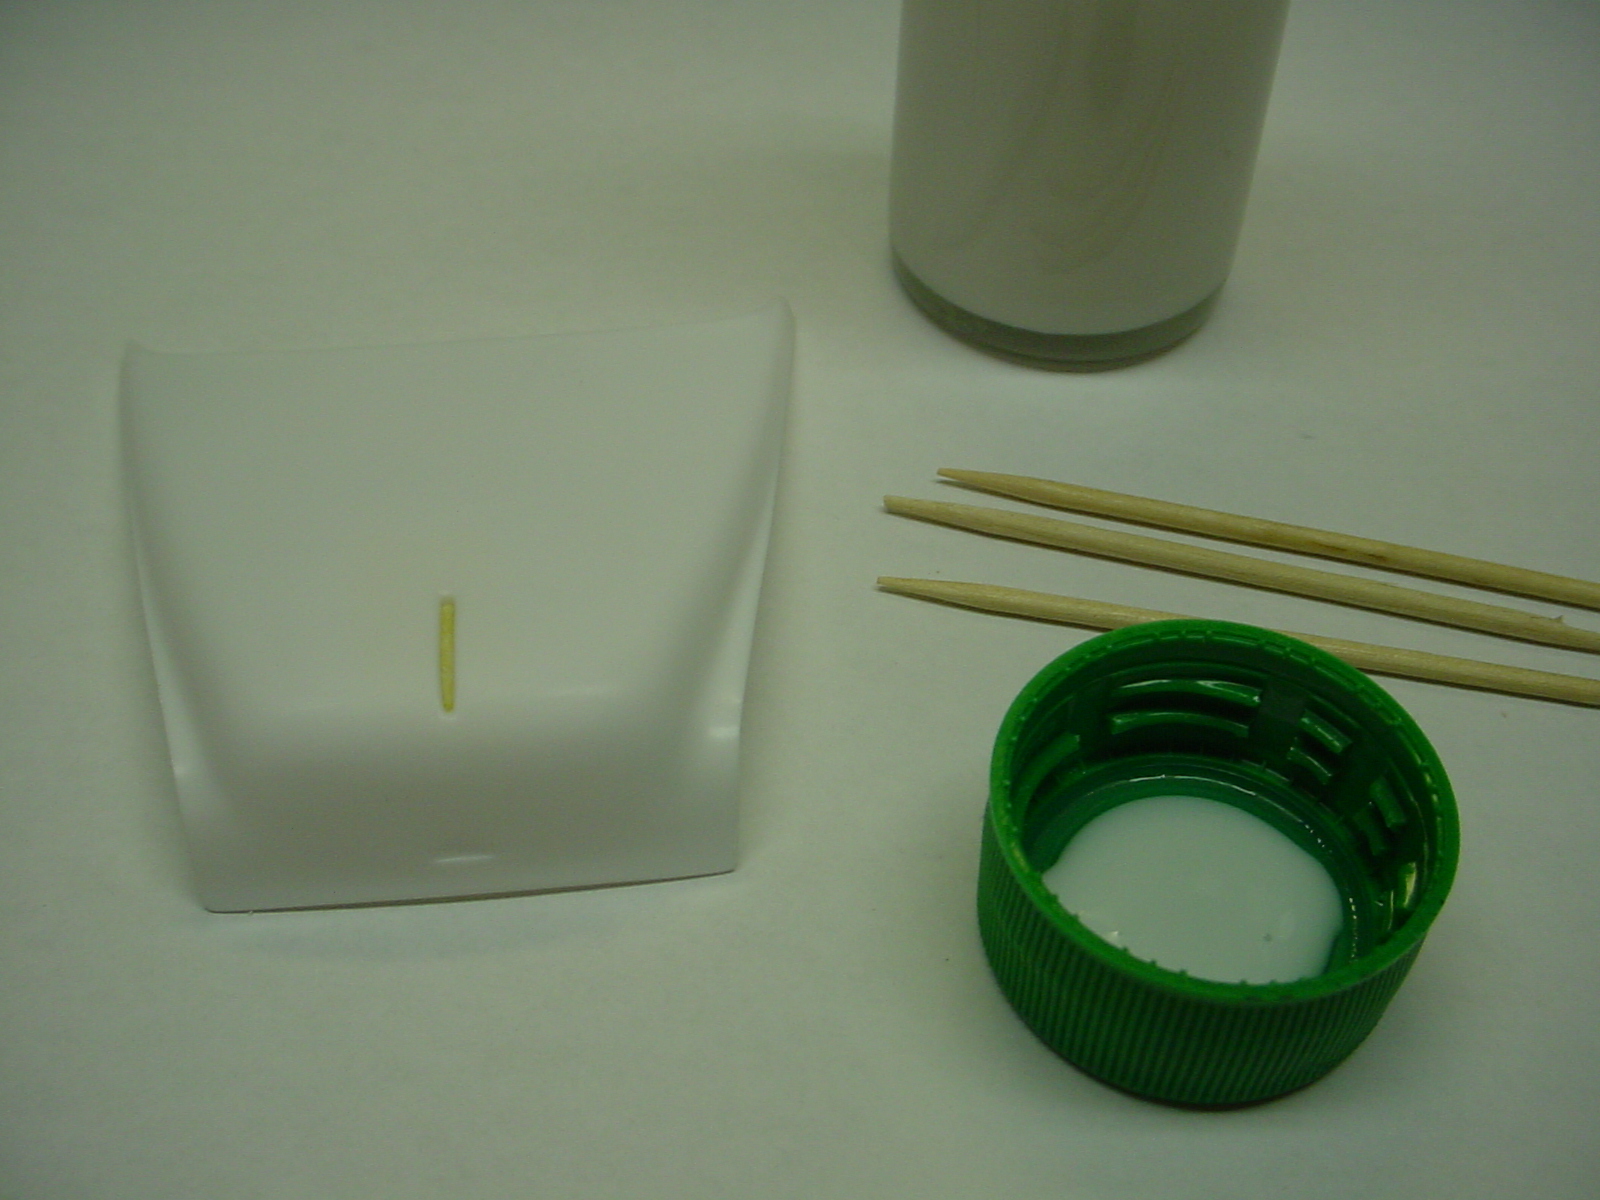 Step Six: Apply the filler with a toothpick or an old brush. over fill the area slightly so you wont end up with a "sink mark" 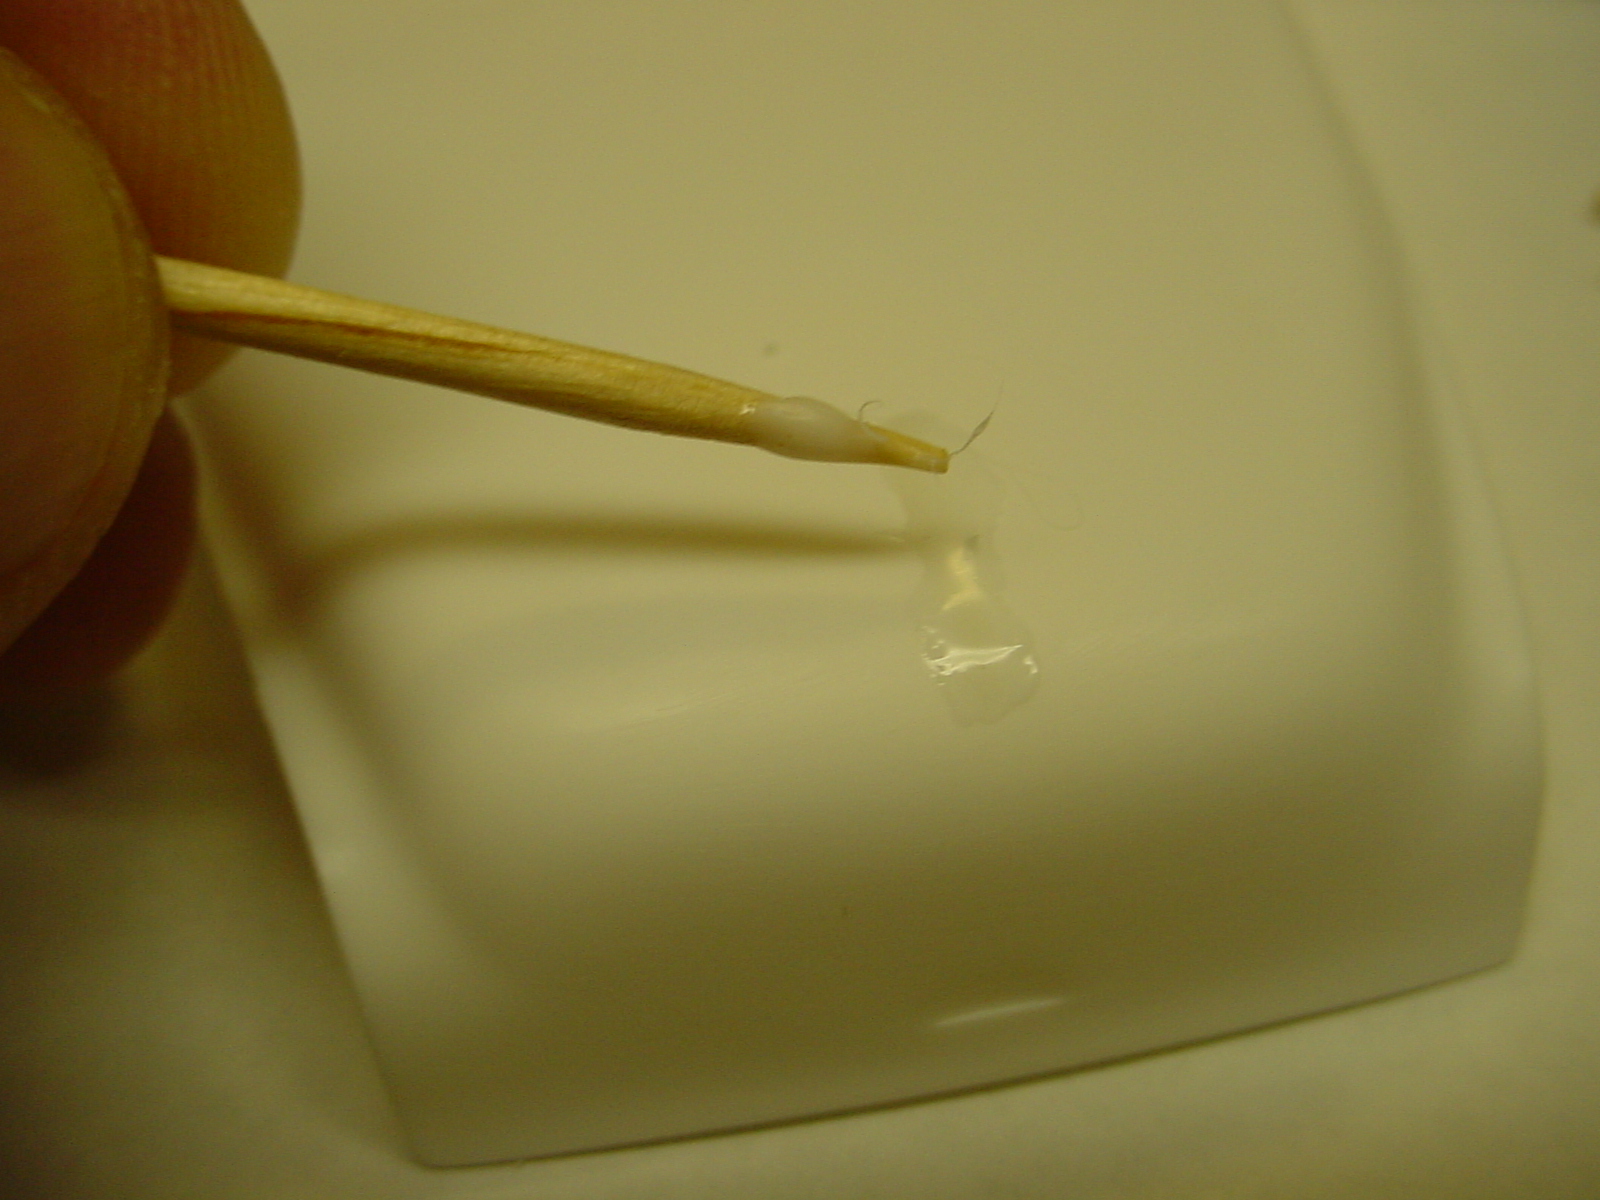 Step Seven: thats it! now the spot is filled in, and you can file it, sand it, prime and paint it. it will be just as tough as the original plastic, and it wont shrink later on when your build ages. plus it is the same color as the original plastic, so you wont have any "bleed thru" problems. 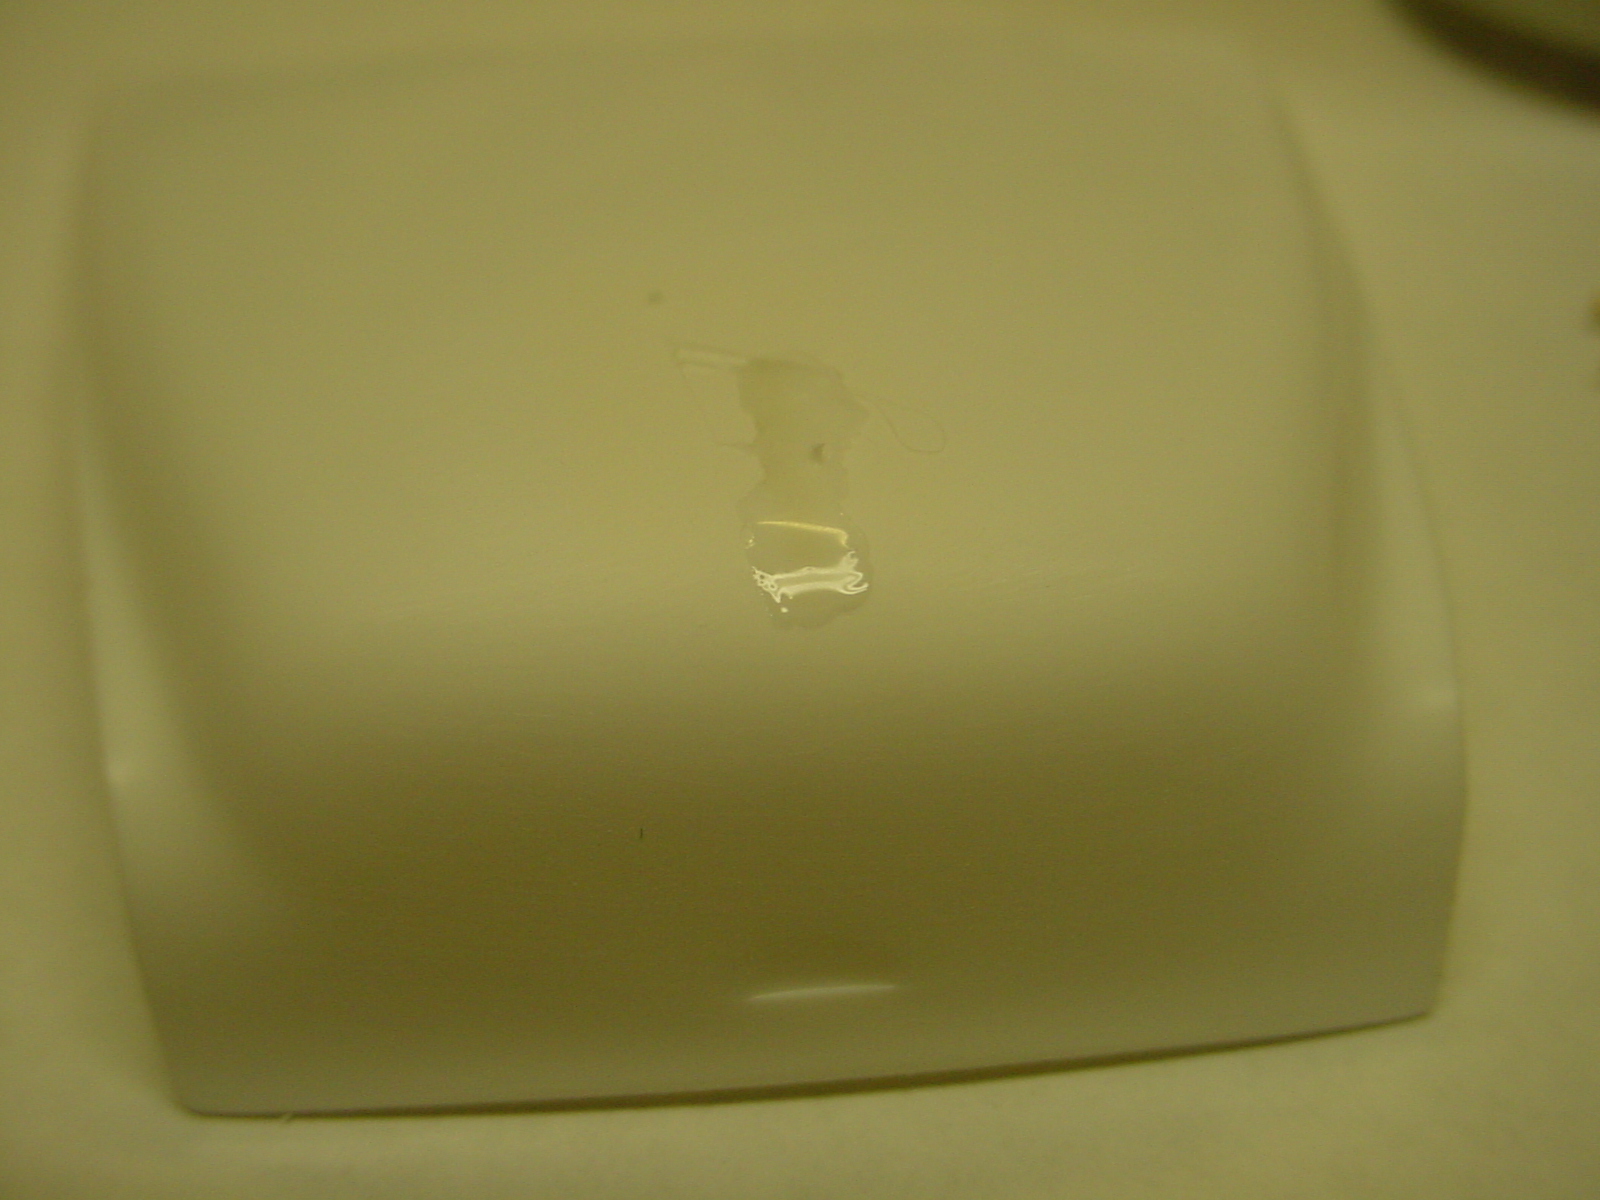 Thanks for reading, I hope these tips will be usefull! |
|